Showing posts with label fall decor. Show all posts

Thursday, September 19, 2013

Fall Leaves Vase


Sunday September 22 is the autumnal equinox, or also known as the first day of FALL! My most favorite time of the year!!!!

With a homemade pumpkin spice latte in my hand, I began decorating the house with the beautiful fall décor I have made and collected. As well as planning out some crafts for new things.

Last year I purchased several bags of artificial fall leaves at my local Dollar Tree; not really having a purpose for them yet. So this year, they became a beautiful (and CHEAP!) piece of fall décor that is now adorning my living room.  

We all have those clear vases from flowers we get on special occasions, right? Mother’s Day, Birthdays, Valentine’s day…. Well, my craft room has been overflowing with them for a few years now.

I dusted one off, filled it with the artificial fall leaves, tied on a bit of tulle and I had myself a lovely decoration.


So, free vase, approximately $3.00 total for the fall leaves and tulle I had on hand. Super cheap fall décor!


Check out some of the crafty fall items I made last year:
 
HAPPY FALL Y’ALL!!!
Pin It

Wednesday, September 26, 2012

Little fall crafts


When we put the new carpeting in our bedrooms it forced me to clean out our closets. UGH! Needless to say I made a few trips to Goodwill for donations.  But I came across a game that paired with a Pinterest obsession gave me the inspiration for a few fall crafts.

Everyone knows Jenga right? Build a tower, remove blocks and pray it doesn’t fall. Well, way, way back in college Hubs and I got the bright idea to use some generic Jenga blocks we found at Wal-Mart for a….well… a drinking game. (Don’t worry, I have overcome my college drinking days and got my head on straight now.) Well, I had all these blocks and was about to toss them in the trash when a little voice in my head screamed “WAIT!”


I have seen tons of wooden block pumpkin crafts on Pinterest lately. They of course were calling for much larger pieces of lumber, but I thought why not make a few small pumpkins out of these blocks and spruce up the house for fall. So, I did.

A few coats of paint, and some sanding and I had my first pumpkin. I painted a piece of a twig for the stem and used floral wire for the vines and finished it off with a little twine bow.


After finishing this one pumpkin, I was just painting a few of the blocks and testing colors and sanding patterns. Then out of nowhere I came up with this cute little fall ornament.
 
I used Scribble paint for the words and once they were dry I went over them with a little water downed paint. The wire does not go through and through. I used a thumb tack to make holes and put cut pieces of wire in the holes to give it the effect that it was a continuous piece through the blocks.
 

There are endless possibilities really for all these little blocks. I am sure I will continue to find new things to make with them.


Happy Fall Y’all!
Pin It

Halloween Wall Hanging


I got the inspiration for this craft on Pinterest. The original post I cannot access because it has been marked as “spam” so I can't post the original link. But here is the photo.


I saw this repined about a hundred times as I scrolled through the DIY & Crafts section and Holidays section. Each caption said “uses dollar store burner covers.” Well, I looked a bit closer to the picture and it is actually embroidery hoops. But using burner covers was an excellent idea. Well, our “dollar” stores here didn’t carry any of them (I’m not surprised with glass/cook top stoves becoming more and more popular), and I would have had to get two packages anyway to get three of the same size circles. So, on an adventure to Hobby Lobby to get some essential oils for my fall simmer pot, I came across cardboard cake circles. And the creative wheels were turning.
 
 
Here is what you need:

Cardboard circles, wooden letters, solid/patterned paper, double sided tape, hot glue, paint/brushes, ribbon, ink pad and any extra embellishments you’d like to add.


I traced each circle on the back side of my desired papers and cut out the circles.


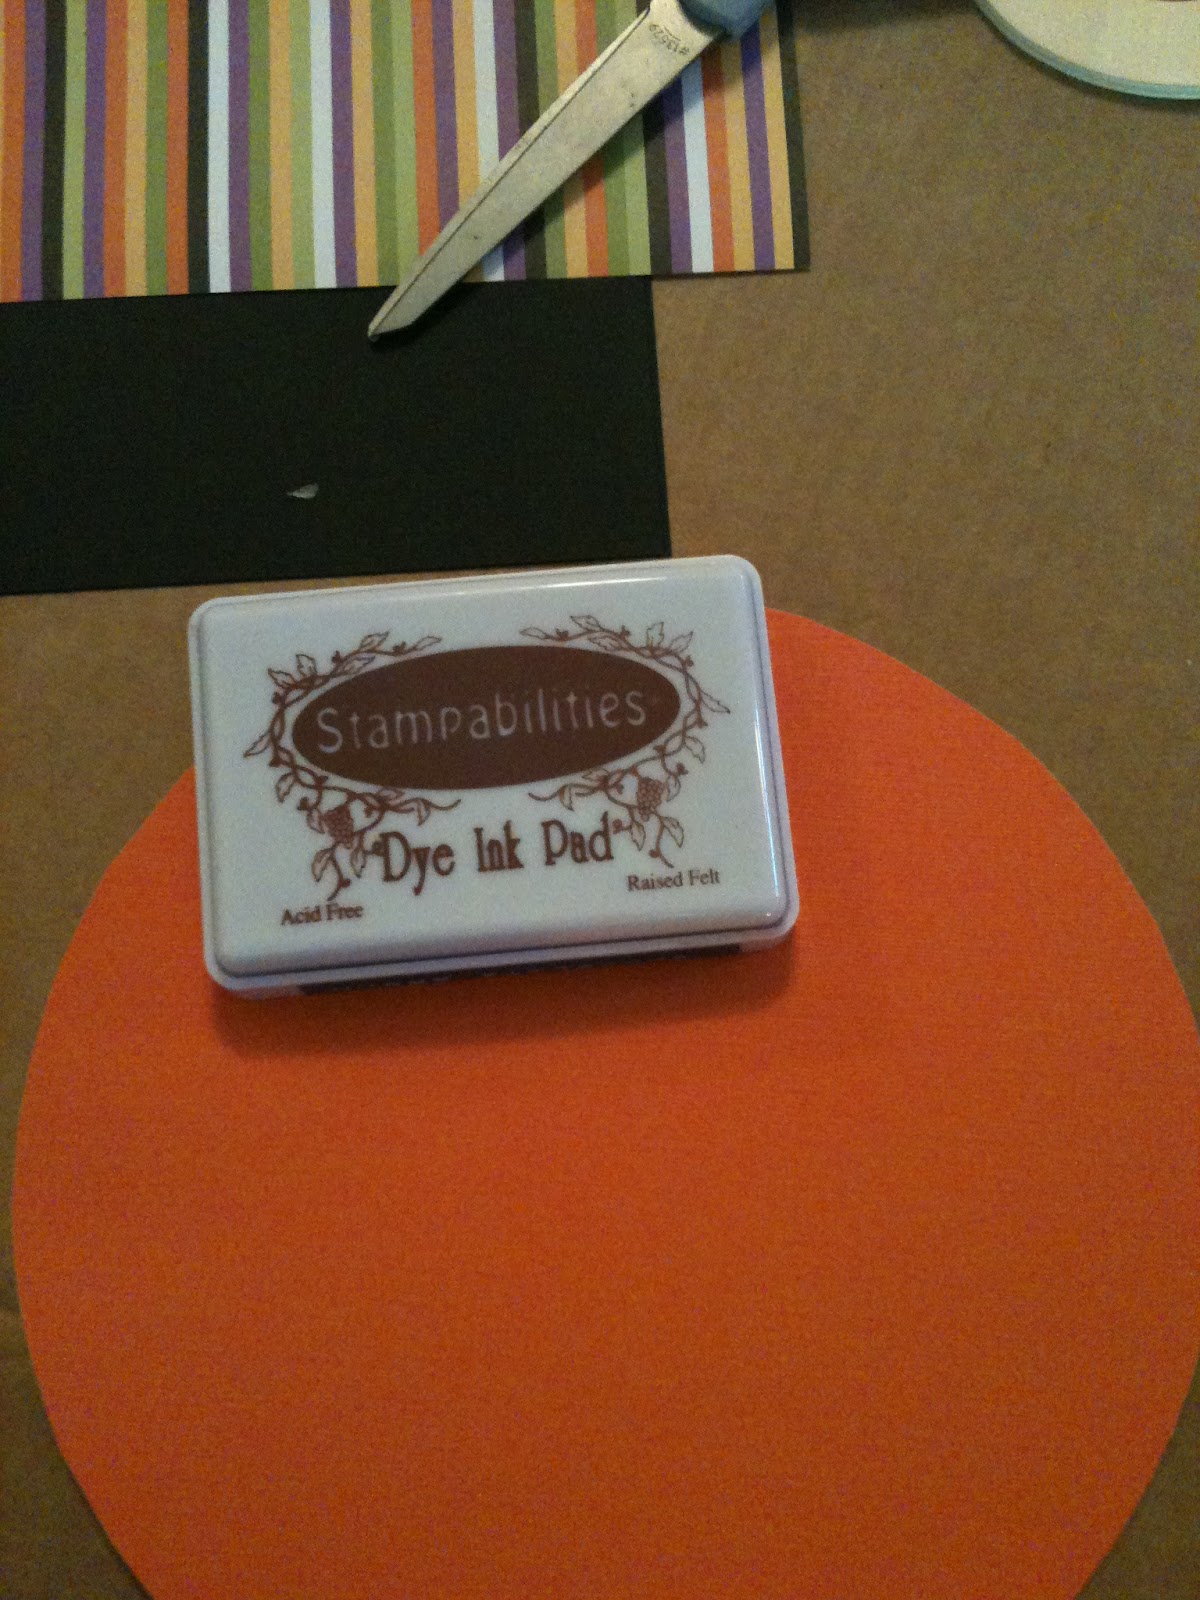
Before taping them down I “inked” the edges of the paper circles to give them a more “artistic” look. To do this technique, you hold the paper in one hand and your ink pad (ink side down) in the other. Keeping the ink pad flat, brush it quickly across the edges of the paper.


A few strips of double sided tape held the paper to the cardboard


I purchased the wooden letters at Hobby Lobby as well, and painted them to match the theme of my papers.

I used this awesome technique while they were drying
 
http://www.chicaandjo.com/2008/04/03/prevent-painted-items-from-sticking-while-drying/
 
Once they were dry I used dimensional foam tape to “raise” them off the paper. I used glue dots as well as just to make sure they were good and secure.

I added a few extra embellishments: candy corn ribbon and a plastic pumpkin (this was a cupcake topper I saved from last Halloween)

 
I hot glued the pieces together then hot glued a piece of twine to the top to hang it from.


A very quick and simple craft and you have yourself a cute wall hanging for Halloween. And if you want, try JOY for Christmastime!


Happy Fall Y’all!


Pin It