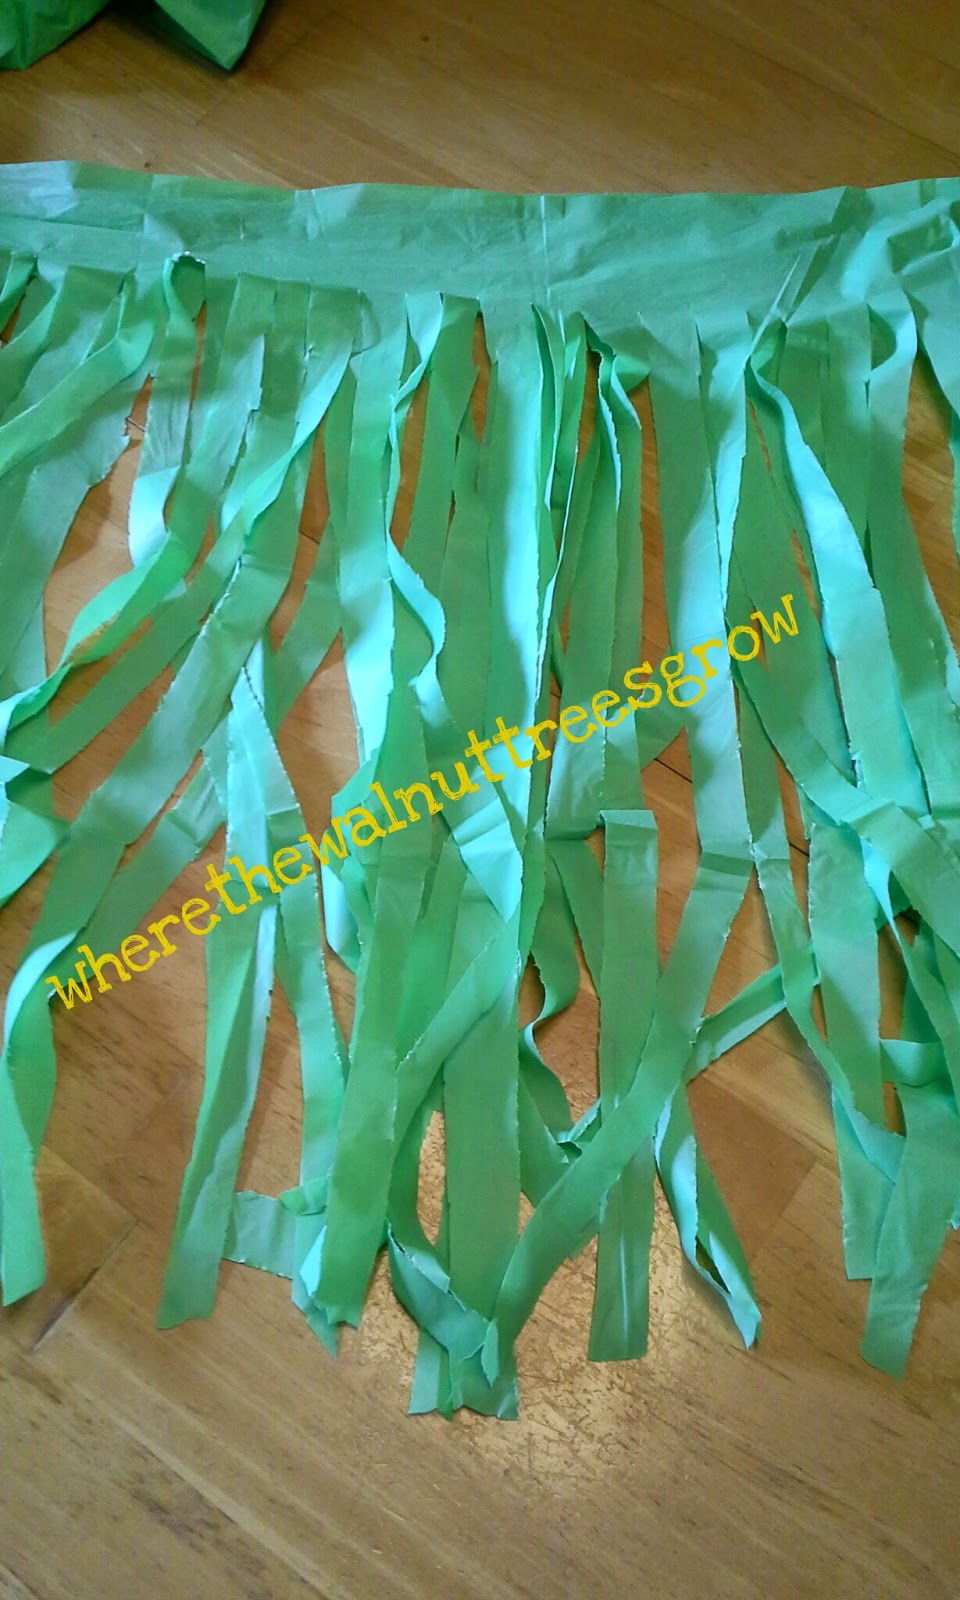
Saturday, October 4, 2014

Birdhouse craft

Hello all! Just stopping in share a quick post. Things have not stopped being super busy around here. I've been gearing up for the upcoming holidays and keeping busy with some craft projects. Still working on the decor change in our little house. This latest one was one of my favorites. I had an unfinished birdhouse and a candle pillar that I had been wanting to give a makeover. A few coats of paint, some sanding and I had myself a lovely decoration for our living room. And the cost: zero dollars because I had everything on hand already. 


Hope everyone is enjoying the start to the fall season! 

God Bless! Pin It

Monday, June 23, 2014

DIY Hula Skirt from Plastic Tablecloth


Well, things haven’t really slowed down here at the little farmhouse, but I’ve found a few spare moments to post a fun craft that kiddo and I worked on this week.

We have had a few thunderstorms and the rain has spoiled our outdoor fun, so we decided to bring the outdoors inside and have a luau! But what’s a luau without a hula grass skirt.

Our local dollar store sells plastic grass skirts but I had a little brainstorm and decided to craft our own.

All you need is a pair of scissors and a cheap, rectangular plastic tablecloth!


I found mine at Wal-Mart for $0.97 in the party section.  I unfolded the tablecloth until it was just two layers.

I cut off about one yard of the tablecloth to use, still folded in half.

I decided to notch out on each side to make thicker, longer “tabs” for me to tie the skirt with. This is an optional step. You can just begin cutting the strips and use a few of those to tie the skirt with.


I then cut narrow strips, starting from the bottom and working my way up to the folded edge, stopping about 2 inches from the fold. For a fuller grass skirt, cut strips along the entire length of the tablecloth and wrap it around the waist.

Tie it around the waist and that’s it! A fun hula grass skirt for kiddo and I to use for our indoor luau!


The color choices are endless for these cheap, plastic tablecloths. And some party supply stores have this plastic tablecloth material on rolls if you needed to make several at one time.  


God Bless y’all!

 
Pin It

Monday, March 17, 2014

Easy French Bread Pizza


Hi folks! It’s been a while since my last post. Time has just sailed by lately! I thought I would share a recent food favorite of our little family. It isn’t anything new, or something I personally “invented.” Just a classic that we put our own twists to and love to eat!

When we do our monthly shopping, we always check the “day old bread” section. We lucked out on one shopping trip and found a fabulous deal on some French loaves. One night we had a hankering for some pizza, so I whipped up some super easy French bread pizzas.


Here is what you will need:

1 French/Italian Loaf bread, cut in half lengthwise

1 14.5 oz can of Italian blend diced tomatoes, drained

Olive oil

Shredded mozzarella cheese

Dried basil (or fresh, chopped if you like)


Preheat your oven to 357 degrees.

Place loaves of bread on baking sheet, face up.

Brush loaves generously with olive oil (open face part, not entire loaf)

Evenly distribute the drained tomatoes between the two halves. (I chopped my tomatoes a little smaller since I was not using petite diced tomatoes)

Top with mozzarella cheese

Garnish with a little sprinkling of dried basil

Place in oven for 20-25 minutes until heated through and cheese is melted. The loaves outer shell should be nice and crisp.

Slice it up and ENJOY!

 
Pin It

Tuesday, December 3, 2013

Cleaning Shortcuts for the Kitchen


With the holidays coming around, keeping the house clean has taken top priority here. We have guests drop in from time to time all year long, but the most stop by at Christmas time. And with a toddler running around messing up things as fast as I clean them, I have to clean two things at once sometimes just to stay ahead. So, I am sharing today a few of my favorite cleaning shortcuts. Well, I am not sure shortcut is the proper word, more like multi-task cleaning.

We have a glass top stove and I have done my best to keep it looking like new. When we purchased the stove it came with this little sample bottle of cleaner. And at the time….it was $6 to get another bottle of it. Then I was introduced to Soft Scrub at half the cost. It has been my stove’s best friend since.
 
 
Everyone has their choice of cleaner for glass/cook top stoves and here is my reason I use Soft Scrub: I clean my kitchen sink at the same time as my stove. With Soft Scrub, you have to rinse your sponge a couple times to get the cleaner and the grime off the stove. So, I figure while I have the sponge full of the cleaner, might as well scrub the sink I am rinsing it in too!

And now I not only have a clean stove, but a clean sink too. No need to drag out separate chemicals or make it two separate tasks. Two things clean; one check mark!

 
I also apply the same logic to the microwave and our coffee maker. I use the same cleaners for both: vinegar and dish soap. Now, I don’t put dish soap through the coffee maker, but I do use the soap to clean the carafe and the filter basket. After I pour my mixture of vinegar and water through the maker, I take the hot vinegar-water over to the microwave and let it steam clean the debris inside. Once the vinegar-water has cooled enough for me to handle, I bring out the carafe and add a bit of dish soap and finish scrubbing out the microwave. Then I wash the carafe and basket with the remaining soapy-vinegar water. The microwave plate gets a good scrubbing with it too. Then I run plain water back through the coffee maker and once that cools a bit, I give the microwave a rinse with the new water. There may be some vinegar traces in the water, but I am ok with using it to wipe off the soapy solution from the walls of the microwave.


Well, there you have it….two of my favorite kitchen cleaning multi-tasks, or “short-cuts.” Check out my previous cleaning posts for more tips and short-cuts.
 

Do you have a favorite cleaning short-cut?


Happy Cleaning Y’all!
Pin It

Friday, November 22, 2013

Owl Bowling Game


I embraced the task of Room Parent this year at kiddo’s preschool. And it has been so much fun so far. It has given me so many chances to get out the craft supplies and make all kinds of stuff.

For his Fall Party, I wanted to have an interactive game, so I came up with these cute little owl bowling pins.

I don’t have a pattern to share but the owl shape is super easy to come up with. Just sketch out a few patterns until you have the size you want.


Here are the supplies you will need:

6 empty 2 liter bottles

1 can of spray paint (the kind that sprays onto plastic. I used Krylon brown)

3-6 sheets of brown craft foam

2-4 sheets of yellow craft foam

Heavy duty double sided foam tape (I found mine at Home Depot)***

Super glue (the gel kind works the best)***

1 foam pumpkin


I sketched the shape of the owl faces. I started with a large circle and went from there to add the winged tips. I was able to get two faces per piece of craft foam.

I cut small rings out of the yellow foam and then cut triangles for the beaks.

To make the eyes more defined, I also cut circles out of the brown foam before adhering the yellow rings and beaks with the super glue.

Once my bottles were spray painted and dried, I used the foam tape to stick the owl faces to the bottles.


***I tired regular glue and regular double sided tape but they came apart. Super glue and the heavy duty foam tape held the best; even after being knocked over hundreds of times by the kiddos.


You could weigh the bottles down with water or beans or etc. But for the little kids I decided to leave them empty so they would be easier to knock down. If you weigh down the bottles, you will need a heavier object to roll into them than a foam pumpkin.

Enjoy Y’all!
Pin It

Wednesday, October 16, 2013

Solving the sticker dilemma


I used to love stickers as a kid. I would jump for joy when I would get them with gifts, at school, parties, in my stocking at Christmas, etc. About 90 percent of my childhood things have a sticker stuck to it somewhere. I never understood why my mother HATED stickers. They were so cool! How could you not love stickers??

Well, now that I am a parent myself, I see why my mom hated stickers. When kiddo gets stickers I TRY to sit with him as he arranges them on paper or activity books or adheres them to appropriate toys (racing stripes and numbers on cars…that type thing) However, somehow there will be stickers stuck to something they were not meant to. The fridge, the doors, the hardwood floors…. And they gain this magical ability to become like concrete and never come off, even with the hardcore adhesive remover. And Heaven help you if you forget to remove one from an article of clothing before it goes in the wash. What a mess!

So, I solved my sticker problem in two parts. #1: don’t give the kiddo stickers. #2 give him window clings instead!

He loves them! They stick to the fridge, to the windows, to his whiteboard easel, on the washer, the dryer, the mirror…. AND THEY COME OFF!! YAY! No more goo-gone fumes!


They have these little vinyl pieces of fun for every season at our local dollar store. If there is a holiday, you can guarantee there is a sheet of window clings to go along with it. So our little sticker loving kiddo can have fun sticking these all over and mommy doesn’t yell and scream.

Sticker problem solved!

God Bless Y’all!
Pin It

Thursday, September 19, 2013

Fall Leaves Vase


Sunday September 22 is the autumnal equinox, or also known as the first day of FALL! My most favorite time of the year!!!!

With a homemade pumpkin spice latte in my hand, I began decorating the house with the beautiful fall décor I have made and collected. As well as planning out some crafts for new things.

Last year I purchased several bags of artificial fall leaves at my local Dollar Tree; not really having a purpose for them yet. So this year, they became a beautiful (and CHEAP!) piece of fall décor that is now adorning my living room.  

We all have those clear vases from flowers we get on special occasions, right? Mother’s Day, Birthdays, Valentine’s day…. Well, my craft room has been overflowing with them for a few years now.

I dusted one off, filled it with the artificial fall leaves, tied on a bit of tulle and I had myself a lovely decoration.


So, free vase, approximately $3.00 total for the fall leaves and tulle I had on hand. Super cheap fall décor!


Check out some of the crafty fall items I made last year:
 
HAPPY FALL Y’ALL!!!
Pin It